


.webp)

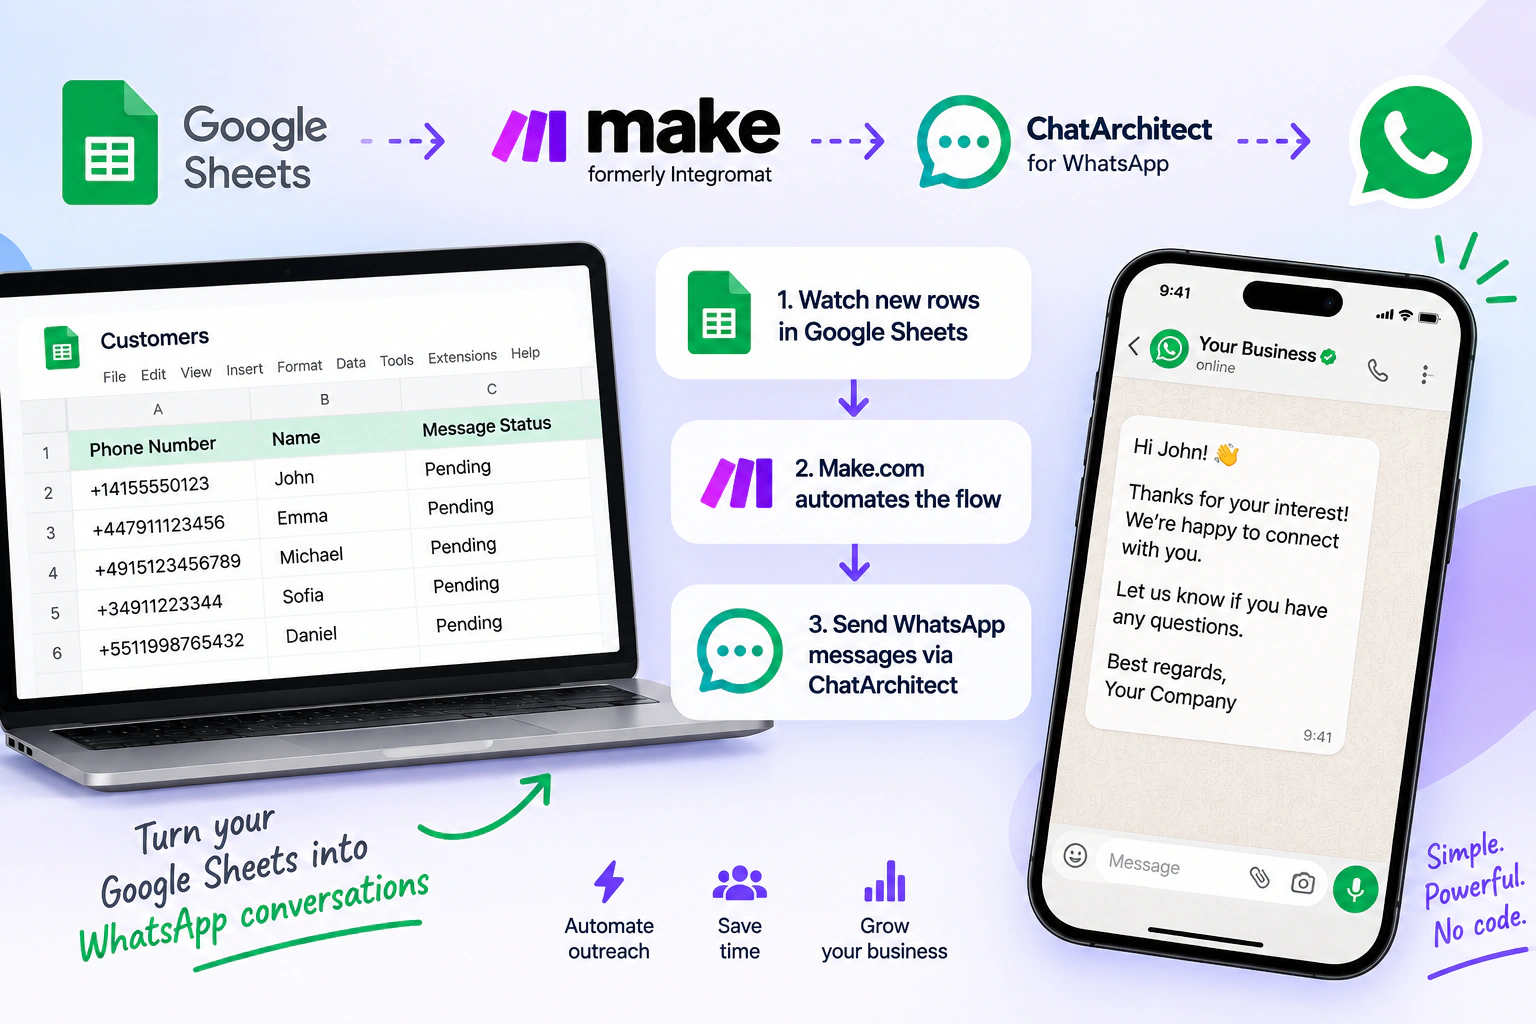
Want to automatically send WhatsApp messages to contacts stored in Google Sheets? With Make.com (formerly Integromat) and ChatArchitect, you can create a simple automation that monitors new rows in a spreadsheet and sends WhatsApp messages to the numbers you add.
In this guide, we’ll show you how to connect Google Sheets, Make.com, and ChatArchitect WhatsApp Business API and create an automated WhatsApp messaging workflow.
What You’ll Need
Before you start, make sure you have:
- A Make.com account
- A Google account
- A Google Sheets spreadsheet containing recipient numbers
- A ChatArchitect account
- Your ChatArchitect APP ID and APP SECRET
- Your WhatsApp integration configured in ChatArchitect
- A message template ready to use
Once everything is ready, you can create your automation.
Step 1: Install the ChatArchitect App in Make.com
After registering or signing in to Make.com, install the ChatArchitect.com for WhatsApp app using the following invitation link:
Install ChatArchitect.com for WhatsApp in Make.com
Complete the installation so that the ChatArchitect module becomes available when building your scenarios.
Step 2: Create a New Scenario
Open your Make.com dashboard and go to the Scenarios section.
Click:
+ Create a new scenario
A new scenario workspace will open. This is where you’ll connect Google Sheets with ChatArchitect.
Step 3: Add Google Sheets
Click the large Plus (+) button in the scenario editor.
Search for:
Google Sheets
Select Google Sheets from the available applications.
Google Sheets will act as the source of the recipient data for your WhatsApp automation.
Step 4: Select the “Watch Rows” Trigger
After selecting Google Sheets, Make will ask you to choose an action or trigger.
Select:
Watch Rows
This trigger allows Make to monitor your spreadsheet and detect newly added rows.
When a new row containing a recipient is detected, the scenario can pass that information to ChatArchitect and initiate the WhatsApp messaging process.
Step 5: Connect Your Google Account
Next, connect the Google account that has access to your spreadsheet.
Click the option to add a Google connection and follow the authorization process.
Make needs this connection to read new rows from your selected Google Sheet.
Step 6: Select Your Spreadsheet
Configure the Google Sheets module by selecting:
- Connection
- Drive
- Spreadsheet ID
- Sheet Name
Make sure you select the spreadsheet and sheet containing the recipient data you want to use.
Once everything is configured, click Save.
Step 7: Add the ChatArchitect Module
Now you need to connect the Google Sheets trigger to WhatsApp.
Click Add module after the Google Sheets module.
Find and select:
ChatArchitect.com for WhatsApp
Then choose the following action:
Send a Text
Your scenario should now have two main parts:
Google Sheets → ChatArchitect.com for WhatsApp
Google Sheets provides the recipient data, while ChatArchitect handles WhatsApp message delivery.
Step 8: Connect Your ChatArchitect Account
Inside the ChatArchitect module, select:
Create a connection
You will be asked to enter your ChatArchitect credentials.
Enter your:
APP ID
and
APP SECRET
Then click Save.
Your Make.com scenario is now connected to your ChatArchitect account.
Keep your APP SECRET private. It should not be published or shared with unauthorized users.
Step 9: Configure the WhatsApp Message
Now configure the message that ChatArchitect will send.
For Destination, select the appropriate phone number field from your Google Sheets data.
In the Text field, enter the text of the template you want to send.
Then set:
Highly Structured Message: Yes
Once all fields are configured, click Save.
This creates a dynamic workflow where the destination number can be taken directly from each new row in your spreadsheet.
Step 10: Test the Integration
Before enabling the automation, it’s important to test your scenario.
Click:
Run once
Add or use a test number in your Google Sheet and allow Make to process the row.
Check whether the WhatsApp message is successfully delivered to your test recipient.
If the message arrives correctly, your Google Sheets and ChatArchitect integration is working.
Step 11: Enable Scheduling
Once your test is successful, you can enable Scheduling for the scenario.
After scheduling is activated, you can begin adding recipient numbers to your Google Sheet.
Important: Add the numbers you want to process after activating Scheduling. The Watch Rows trigger is designed to process newly added rows.
This means your workflow becomes:
Add a new row to Google Sheets → Make detects the row → ChatArchitect receives the data → WhatsApp message is sent
Important: Allow Up to 15 Minutes for New Rows
Depending on your Make.com scheduling settings, newly added numbers may not be processed immediately.
Make may take up to 15 minutes to process new numbers.
If you add a new recipient and the message is not sent instantly, wait for the next scheduled scenario execution before troubleshooting the integration.
Automate WhatsApp Messaging with Google Sheets
That’s it! You’ve created an automated WhatsApp messaging workflow using Google Sheets, Make.com, and ChatArchitect.
Instead of manually entering every recipient into your messaging system, you can simply add new contacts to your spreadsheet. Make monitors the sheet and passes new rows to ChatArchitect, which handles WhatsApp message delivery.
This setup can be useful for a variety of workflows, including customer notifications, appointment reminders, order updates, lead follow-ups, internal notifications, and other automated WhatsApp communication.
With ChatArchitect + Make.com + Google Sheets, you can turn a simple spreadsheet into an automated WhatsApp messaging workflow without building the entire integration from scratch.


